The largest geomagnetic storm in more than 20 years will hit Earth this weekend, bringing the northern lights to life across large parts of the Northern Hemisphere. Here’s how to take a photo of the northern lights using your Google Pixel smartphone or other Android devices.
The northern lights – the aurora borealis – are usually only visible in the far northern parts of the globe. They are the result of solar storms passing through the Earth and the interaction of charged particles with gases in the atmosphere. It’s a dramatic sight in the sky, and this weekend it will be visible in parts of the globe you rarely see. This includes large parts of the United States.
Starting on May 10 and also occurring on May 11 – though not as powerful – you can look for and see the aurora borealis. This will vary depending on where you live, the level of light pollution, and many other factors. With the naked eye, you may notice some color in the sky or a slight tint, but the camera can actually see more in the right conditions.
Using your camera’s long exposure mode, like the Google Pixel’s astrophotography, you can capture the northern lights in a way that looks better than it does with the naked eye. Heres how to do it.
To get started, you will need two things. Dark environment with minimal light pollution, and a tripod.
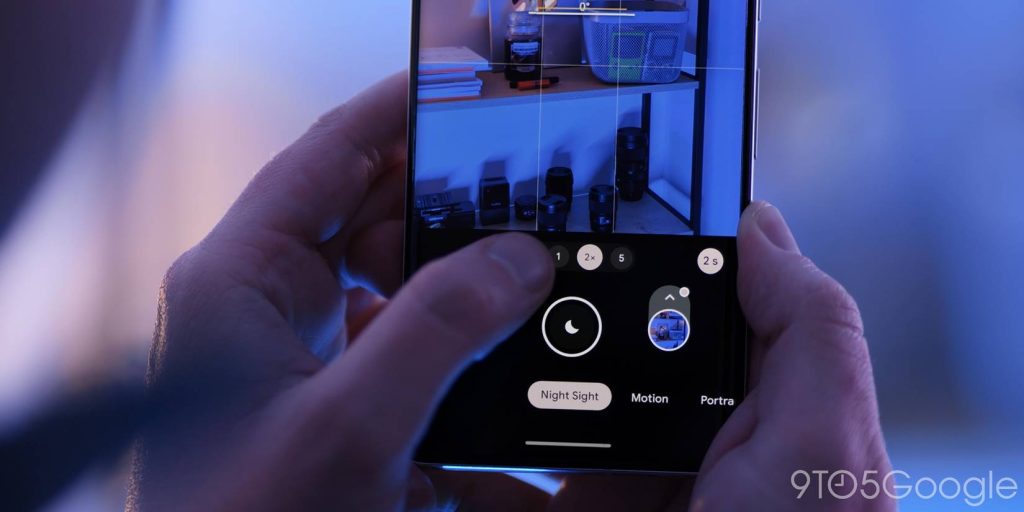
Mount your phone on a tripod And open the camera app. Then on the pixel Switch to “Night Sight” mode. Along the bottom bar. If the northern lights are clearly visible to your eye, you will likely be able to capture them using Night Sight only. But astrophotography can capture much more detail, and time lapse as well.
to Astrophotography launch On a Pixel phone, place the phone on a tripod and make sure it’s on a stable surface. After a few seconds of staying still, you’ll see Star icon (See image above) appears on the shutter button. Gently press this button and then your phone will start the process which may take up to 4 minutes.
Once the shot is finished, your phone will process the image and export a still image as well as a time-lapse of the shot, which is especially fun for capturing the northern lights.
Here are some shots we captured from North Carolina during the first night of the Northern Lights on May 10.
While many other Android phones don’t have dedicated astrophotography modes, you can still take a good shot using the standard night modes. Most phones, including Samsung Galaxy devices, will automatically switch to night mode when it’s dark enough.
A good rule of thumb would be that if you can see the northern lights with the naked eye, your phone’s standard night mode should probably be able to capture a photo of them as well. If you can barely see the aurora, you’ll likely need to dive into manual shooting mode and look for long exposure options.
On newer Samsung Galaxy devices, you’ll be able to access long exposure in two ways. Under the dedicated ‘Night’ mode, you can switch from automatic exposure to ‘Max’. Alternatively, you can dive into ‘Pro’ mode and crank up the ‘speed’ to 5 or 6 seconds. As with the Pixel, you’ll definitely need a tripod for this.
If you’ve taken or used this guide to take photos of the aurora borealis with your Android phone, share it in the comments below!
More on Android:
Follow Ben: Twitter/X, ThreadsAnd Instagram
FTC: We use automatic affiliate links to earn income. more.

“Friendly food geek. Communicator. Hipster-friendly creator. Bacon evangelist. Zombie nerd. Pop culture advocate. Beer aficionado.”